A concert poster has a practical job: tell people who is playing, where, and when. A short animated version can draw attention to the artwork, but the event details must remain easy to read. Start by separating the moving background from the text that people need to act on.
Disclosure: This article was prepared by the Flyne AI brand team. The poster example is a planning illustration, not footage from a generation test.
This approach can work for an independent musician preparing a social post or a community performance announcement. It is a small visual study, not a replacement for the event’s approved artwork or a finished music video.
Decide what the poster needs to communicate
Make a list of the details that must survive every version: artist name, date, venue, start time, and the correct place to find tickets or entry information. Check them against the event organizer’s current information. If a detail is not confirmed, leave it out until it is.
Next choose the background’s job. It might establish a mood, suggest a setting, or lead the eye toward the event name. For this example, imagine a fictional blank poster on a dark wall. A spotlight below it gradually grows brighter. The light change suggests an opening without asking the viewer to follow several objects.
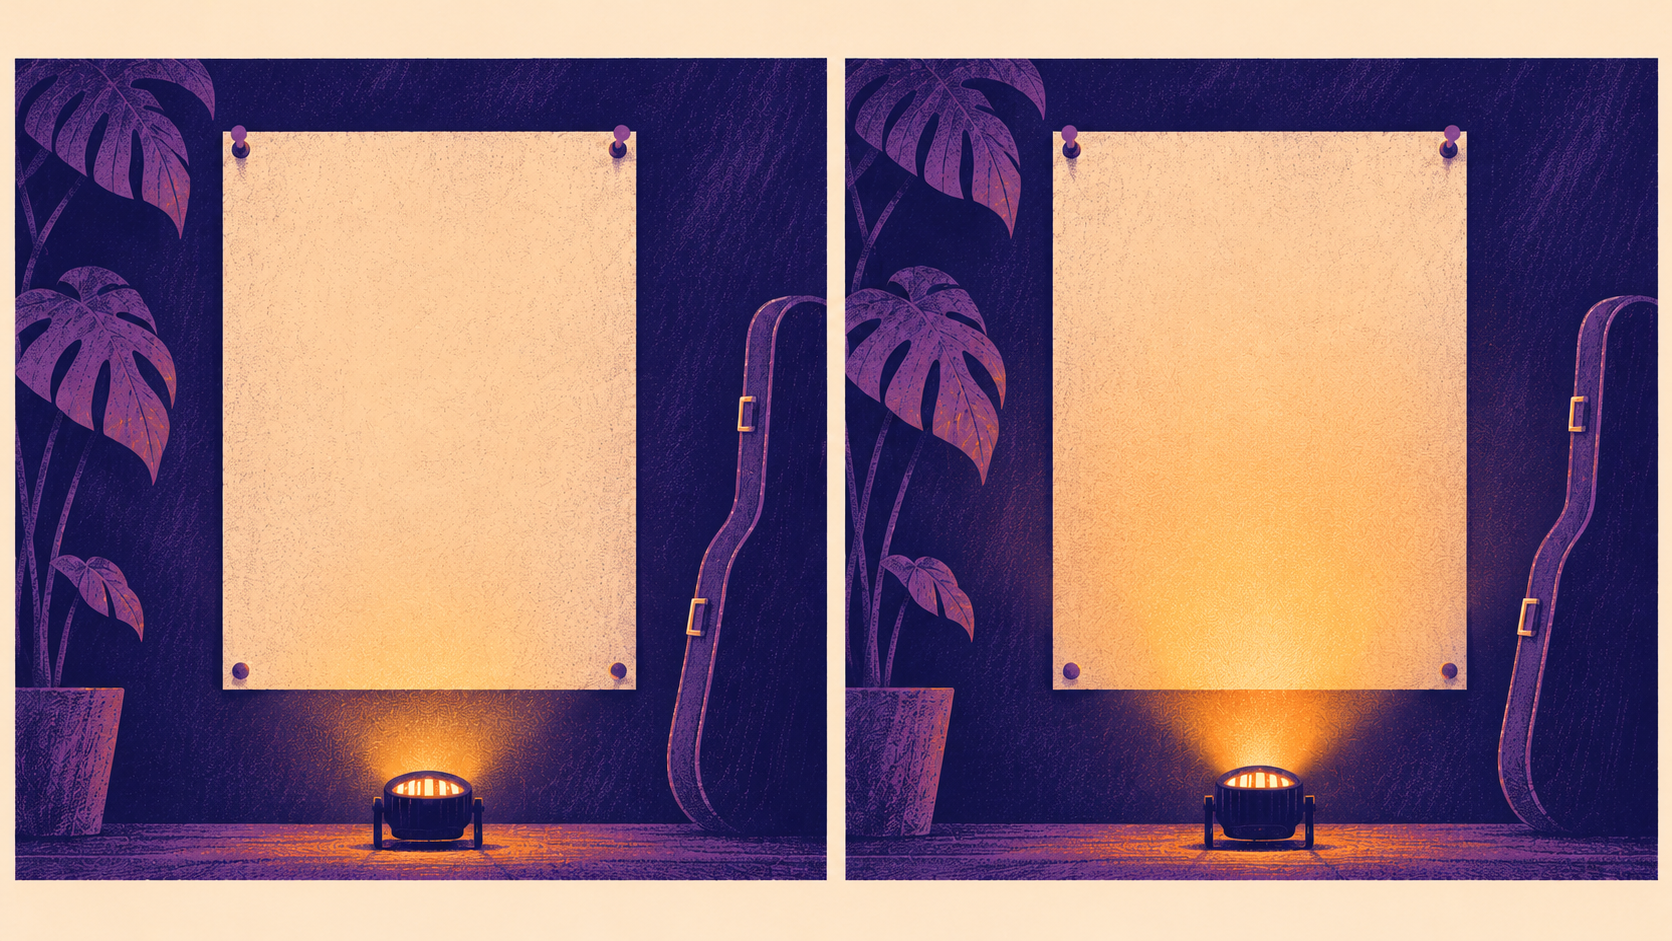
A hypothetical pair of poster backgrounds; the second has a brighter spotlight. These are planning illustrations, not generated frames.
The illustration has no event text. That is deliberate: put exact words on a separate layer later. Generated lettering can change or become unreadable between frames, so it should not be your source for a venue address or date.
Make a compatible opening and ending
For an image-guided study, prepare two images with the same aspect ratio, subject, viewpoint, and overall composition. The first is the opening state; the second is the intended ending. In the poster plan, the spotlight grows brighter while the poster, wall, and viewpoint remain in place.
Compare them side by side before uploading. If the poster has a different shape or the background jumps to a new viewpoint, fix the pair first. Leave enough clear space in both images for the text you plan to add. One light change is easier to evaluate than combining it with a pan and a new object.
Write a short movement instruction that names both the action and the parts to keep steady:
Let the warm spotlight gradually brighten toward the ending image. Keep the blank poster, wall, and camera fixed. Add no text or new objects.
This is an instruction to try, not a promise that the model will follow every detail. If the output changes the poster shape or introduces lettering, reduce the motion or revise the source images. Keep the original poster artwork available as a fallback.
Create and inspect the visual
The Flyne AI free image to video generator accepts a first and last image for its image-guided route and a description of the motion between them. Its page lists MiniMax H3, a five-second 480p result, no signup, and no total generation-count cap. Verification is required before submission, and a free request can wait in the queue; unlimited generations do not mean instant processing.
After providing the two images in order, enter the brief and inspect the entire result. Check the subject at the start, middle, and end. Does the poster remain recognizable? Does the background keep the space reserved for the event text? Does anything appear that could be mistaken for an event detail? A useful concept can still need further editing.
If you have a written scene rather than a pair of images, FLAQ AI offers a free text-to-video route. AI VideoWeb lists text and two-image inputs. These links describe different starting options; they are not a comparison of output quality.
Add the music and event details in an editor
Keep the picture and the music as separate source materials. Use audio you created or have permission to use, including permission for the intended social platform and event promotion. The poster image, artist photographs, logos, and any other visual assets also need the appropriate permissions.
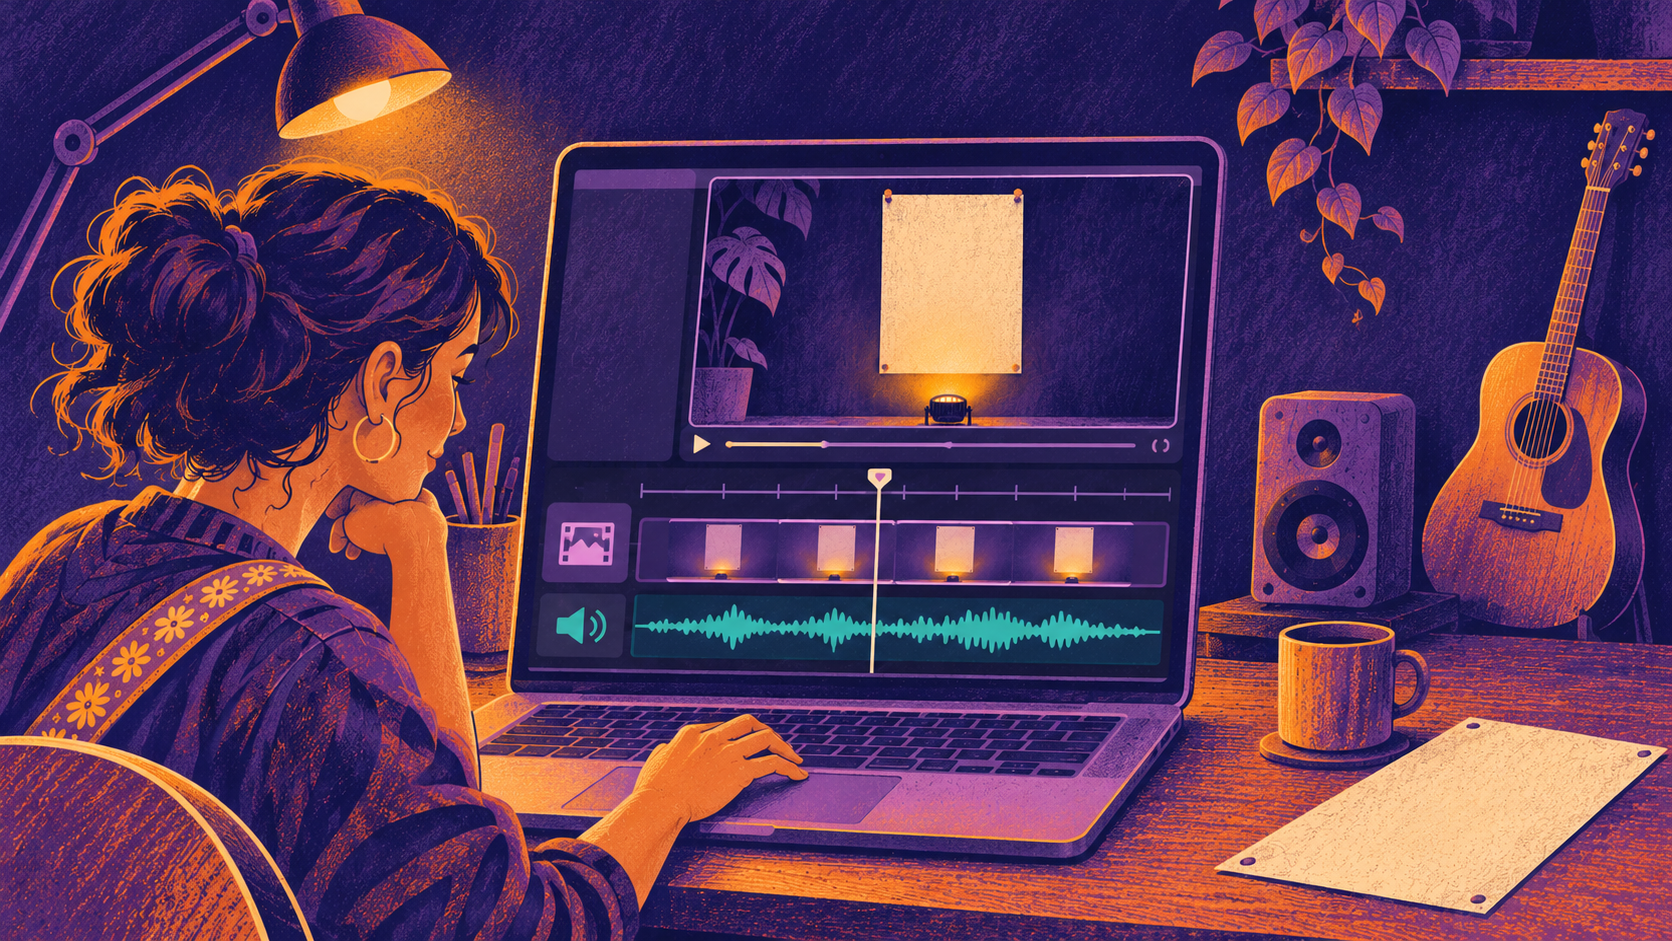
An illustrative timeline keeps the poster visual and audio on separate tracks.
Import the chosen clip and audio into a video editor as separate items. Place the audio where you want it, trim the visual if needed, and adjust the starting point by hand. If the generated clip has sound you do not want, mute or remove it in the editor. Do not assume the visual movement was synchronized to a beat; timing is an editorial decision.
Place the confirmed event information on text layers above the visual. Use a simple typeface, enough contrast, and generous margins. Read the name, date, and venue at phone size. If the moving background competes with the words, add a quiet panel behind them or use the original still as an opening or closing card.
Check the version a viewer will see
Preview the whole teaser with sound, then watch it once muted. Can you still understand the event? Check the artist and venue spellings against the source, make sure the date and time match the organizer’s information, and test the actual event or ticket destination wherever you share it.

Check the final text, destination and audio in the version viewers will see.
Different platforms may crop the same video differently. Inspect the intended portrait, square, or wide placement rather than assuming a single composition works everywhere. If text disappears at the edges, adjust the layout and preview again. A five-second 480p clip is useful for discussing a small visual idea; whether it suits a final delivery depends on the destination and its requirements.
Save the approved still poster, source images, motion brief, audio file, and final edit together. If the date or venue changes, update the separate text layer and check the shared destination again. The result should help people understand the performance as clearly as the original poster does.